Photographing Cities at Blue Hour: A Practical Guide
Blue hour lasts about twenty minutes. Knowing where to stand before it starts matters more than the camera in your bag.
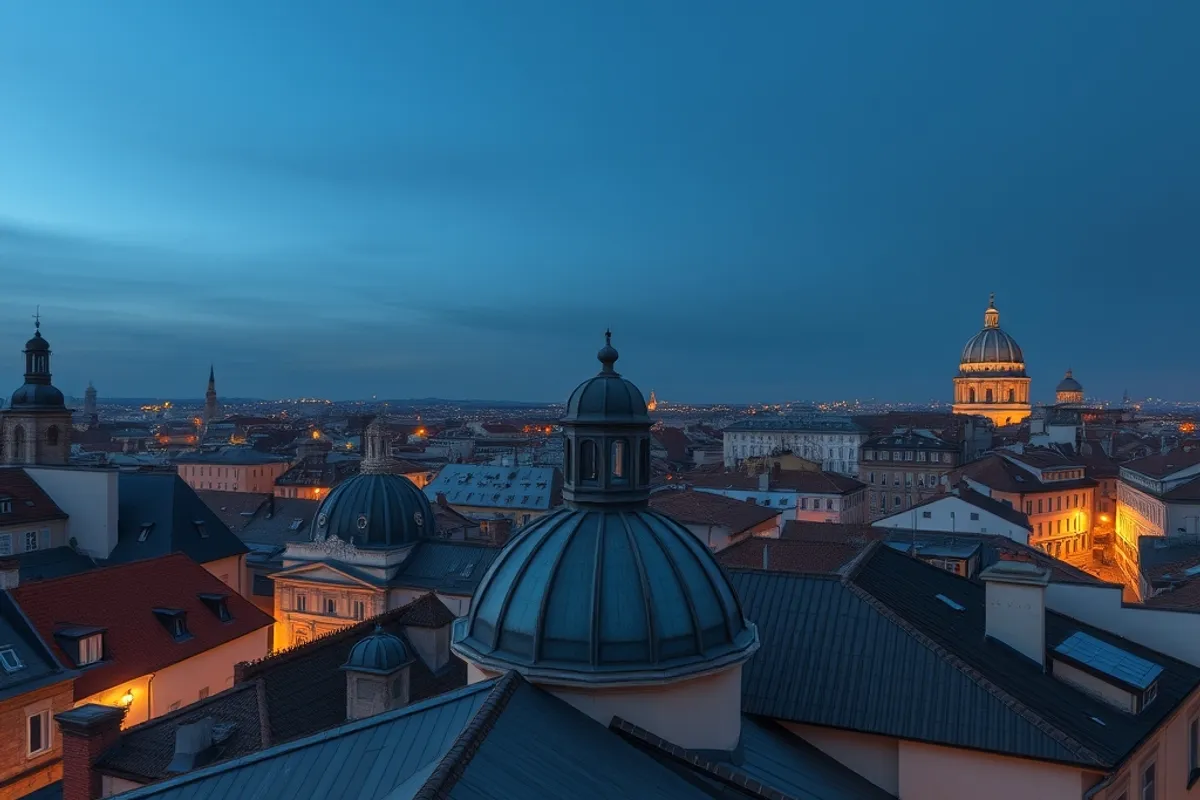
Blue hour is the short window after sunset when the sky is still blue and the city lights are on. It is the easiest time to make a city look good: the light is soft, the contrast is manageable and the streets glow without the harsh shadows of midday. It is also short, often twenty to thirty minutes, which rewards planning over improvisation.
This guide covers timing, location, exposure and composition for better blue-hour city photographs in 2026.
Know the timing before you go
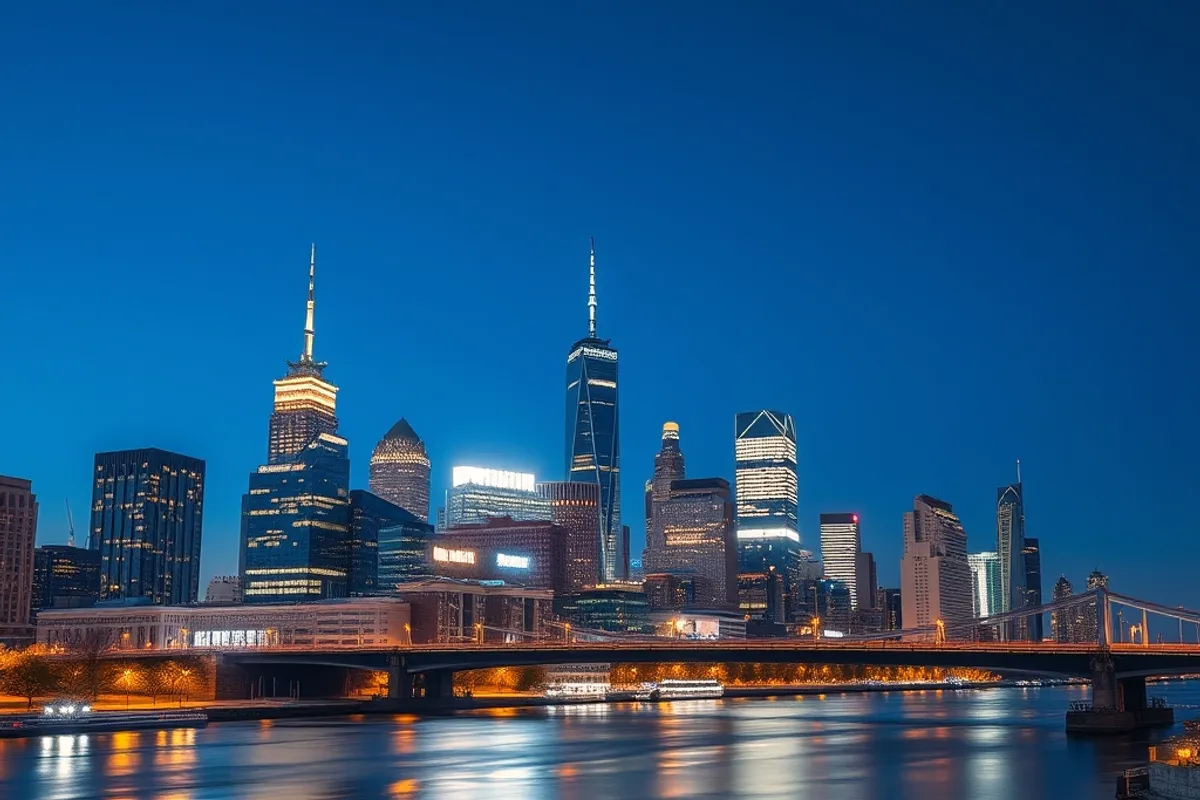
Blue hour begins after sunset and lasts until the sky turns dark. The exact length depends on latitude and season; near the equator it is short, in northern Europe in summer it can last much longer. Use a sun-tracking app to find sunset, civil twilight and nautical twilight for your date. Arrive at your location thirty minutes before sunset so you are set up when the light turns.
The best moment is usually ten to twenty minutes after sunset, when the sky is a deep blue and the streetlights are bright enough to register. If you wait until the sky is black, you lose the color and the contrast becomes harder to manage.
Choose a location with layers
A good blue-hour image has foreground, midground and background. A river with reflections, a bridge with traffic trails or a rooftop with a skyline all provide layers. Avoid a flat wall of buildings unless the geometry is the point. Look for a place where lights lead the eye into the frame.
Scout in daylight. Note where you can stand safely, whether a tripod is allowed and which direction the sky will be brightest. Rooftops, bridges, tram stops and pedestrian crossings are classic for a reason, but they are also crowded. Arrive early and be considerate.
Exposure that keeps the lights clean
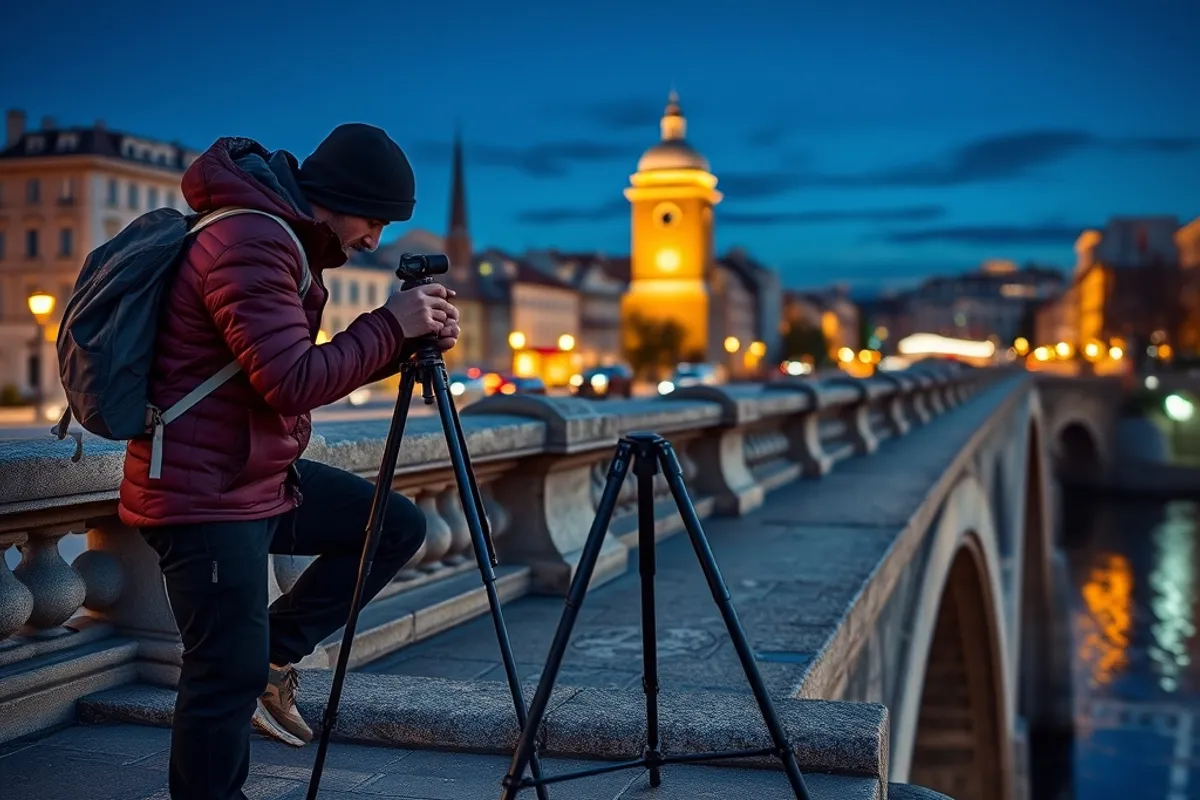
Blue hour is a high-contrast scene: a bright sky and dark streets. Start at ISO 100 to 400, an aperture of f/8 for sharpness and a shutter speed long enough to capture the ambient light. A tripod lets you use several seconds without raising ISO. If you are handholding, raise ISO and accept some noise, or brace the camera on a wall.
Watch the highlights. City lights blow out easily. Expose so the sky keeps its color and the brightest lights are not pure white. If the scene is too contrasty, bracket three exposures and blend later, or use a graduated filter for a flat horizon.
- ISO 100 to 400 for clean files
- Aperture f/8 for most city scenes
- Shutter speed 1 to 10 seconds on a tripod
- Expose for the sky, protect the highlights
- Use a two-second timer or remote release
Composition and movement
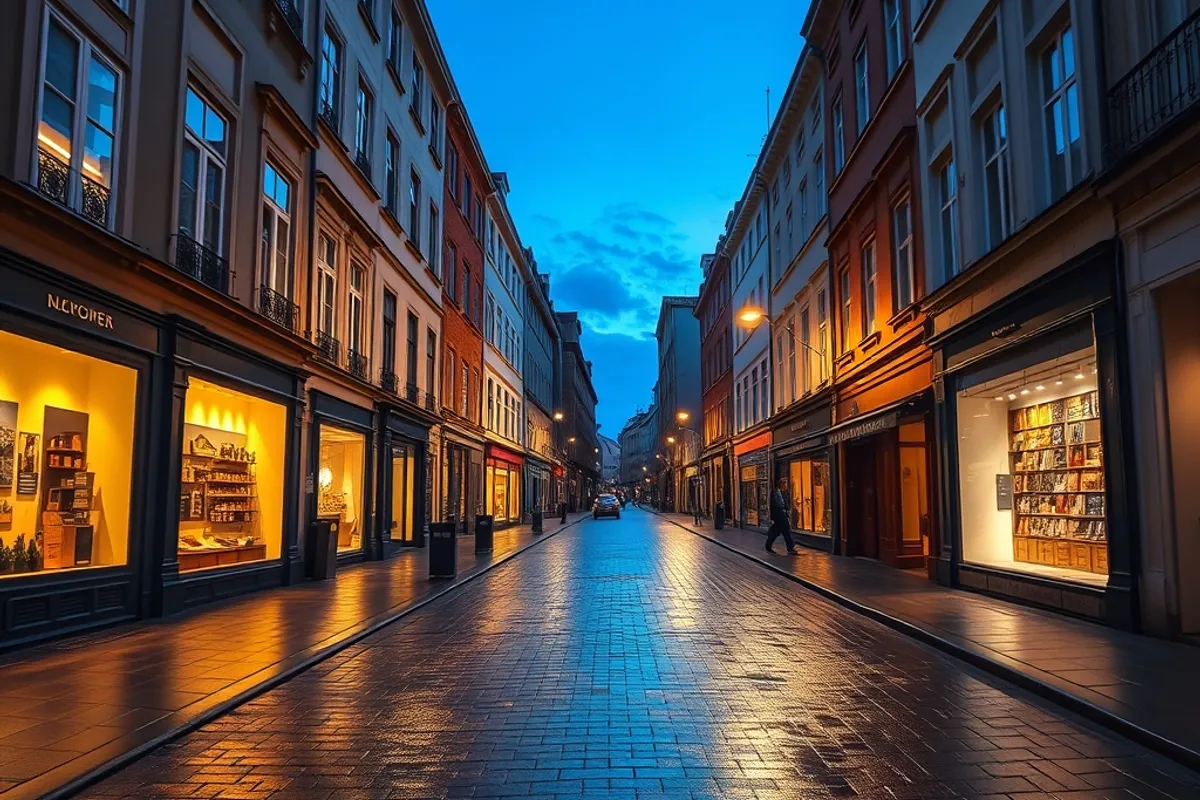
Blue hour rewards leading lines and reflections. Use a river, a wet street or a tram track to draw the eye. Place the horizon deliberately; a low horizon emphasizes the sky, a high one emphasizes the city. Include a human element only if it adds scale or story, and watch for blur from long exposures.
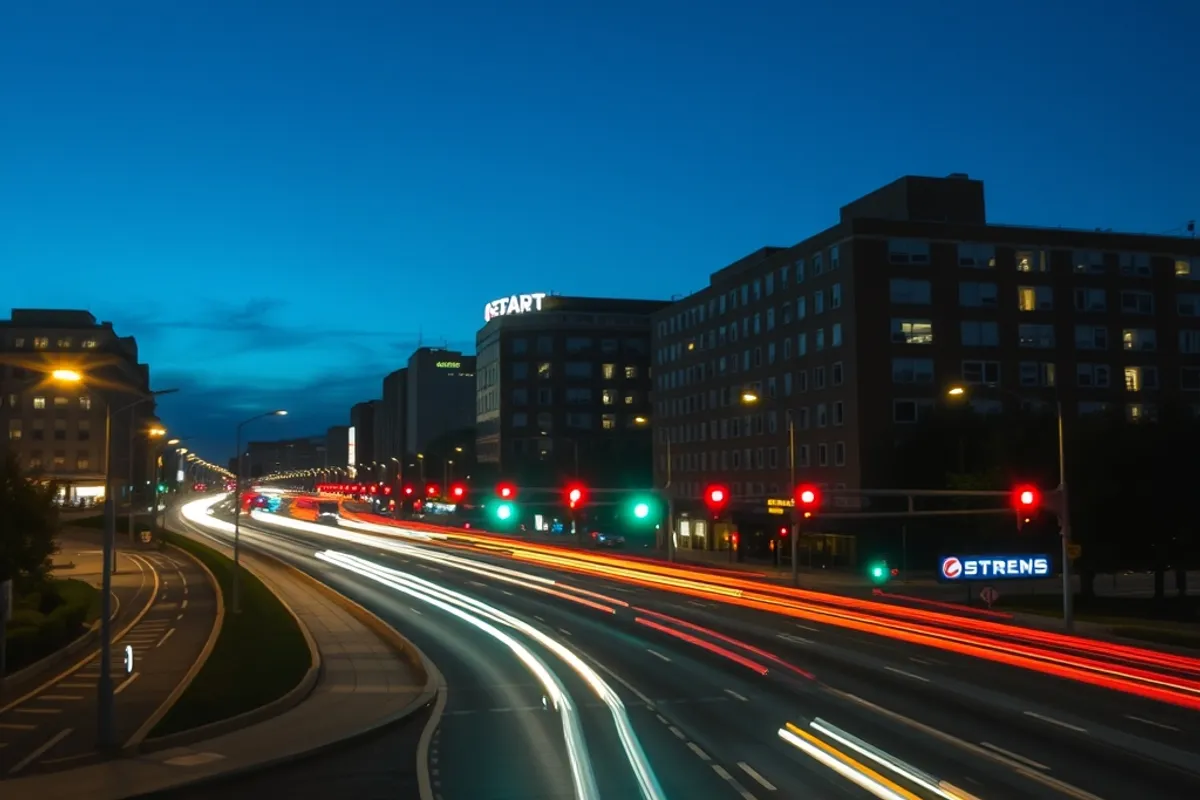
Traffic trails can be effective, but they can also dominate. Try a few frames with different shutter speeds: two seconds for distinct lights, eight seconds for smooth streaks. For people, a short exposure freezes them; a long one makes them disappear, which can clean up a busy square.
White balance and color
Auto white balance often makes blue hour too warm or too neutral. Try a daylight or cloudy preset and adjust in post. The goal is a sky that reads blue, not cyan, and streetlights that feel warm without turning orange. Shoot raw so you can correct later.
Be careful with saturation. Blue hour images can look artificial when the blues are pushed too far. A subtle contrast curve and a small lift in the shadows usually looks more natural than heavy color grading.
Handheld and phone options
If you do not carry a tripod, use a phone with night mode or a camera with good stabilization. Brace against a wall, a railing or a bench. Take several frames and pick the sharpest. A small tabletop tripod can fit in a jacket pocket and is enough for a bridge railing.
For more on what to carry, read our travel photography gear guide. If you are planning a city break, our city hotel room guide will help you stay near the light.
Key facts
- Arrive 30 minutes before sunset and stay through the blue.
- Scout the location in daylight and check tripod rules.
- Shoot raw at ISO 100 to 400 and f/8 on a tripod.
- Expose for the sky and protect the highlights.
- Use reflections and leading lines for depth.
The city looks best for about twenty minutes. Be ready.